Showing posts with label FBA. Show all posts

Friday, January 17, 2014

The Perfect T-Shirt


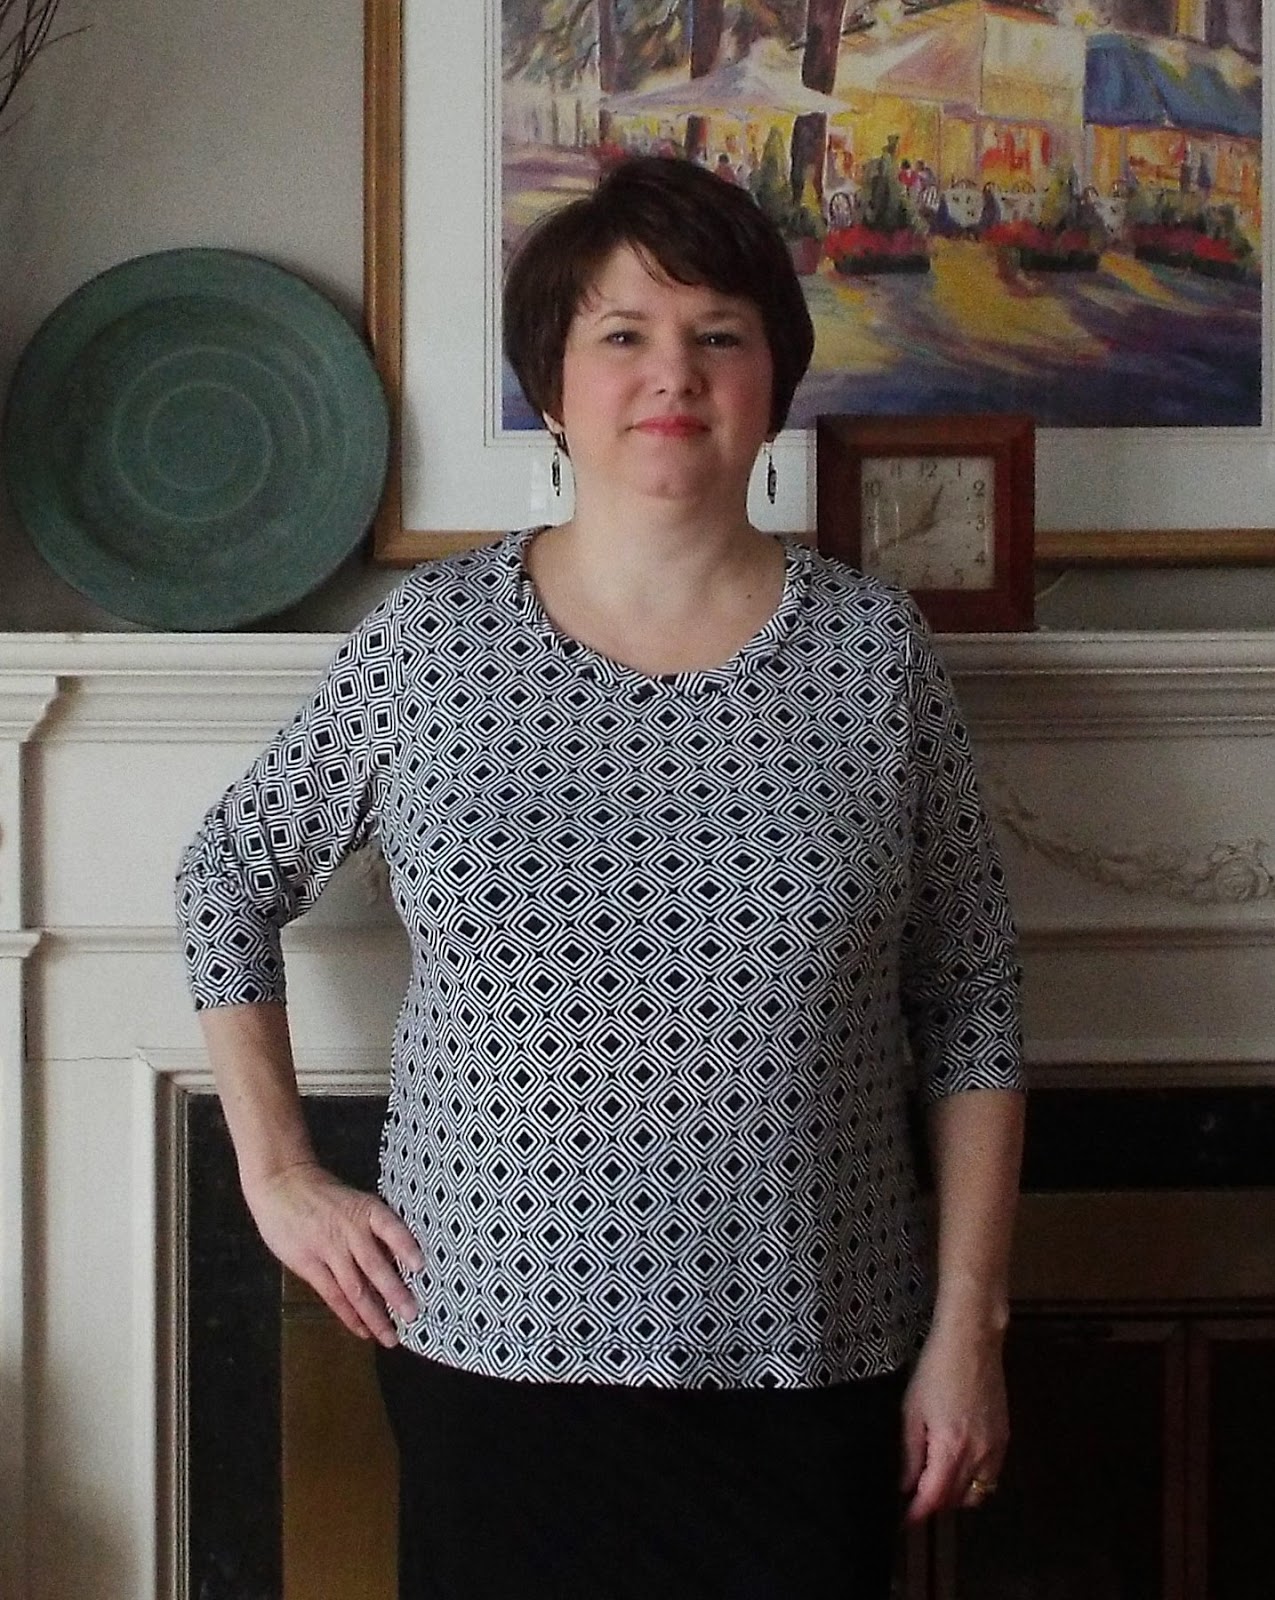
I didn't name it that, Pamela did.  I don't know if it's perfect but it is pretty good. It is as good as any t-shirt I've ever bought at a store. It's Pamela's Patterns Perfect T-shirt #104

I showed two shirts in my last post made with the darted front pattern. I was pretty happy with them, but remained curious to whether my dartless FBA in a knit fabric would achieve a better fit.   This is what my dartless  FBA for knits looks like:


Here are the two versions side by side:

Dart on the left, no dart on the right.

The verdict?  

I'm deadlocked on this one. I'm not crazy about the look of a dart on a t-shirt, I would never put it in a solid fabric & it doesn't do a thing to keep the front hem of the shirt from sticking out, but it does look way nicer on the side.

See the drag lines on the undarted one?


You probably didn't until I brought it to you attention, but it they're there. Every RTW t-shirt I own does this to.  
I did put the dart in the next two, so I'd say my hung jury is about 10-2 in favor of the dart!


Four different neckline treatments

The first one is a simple wide binding.  I use the technique by Sarah Veblen from Threads magazine: 


Same technique, but double layer:


  This one is a wide binding like the first one by its twisted slightly:

 The last one is a boat neck.  

This one is  actually my favorite of the lot. Pamela made  a supplemental pattern of different necklines and sleeves and this is one of the necklines. The large busted are usually averse to high necklines, but I think the boat neck is an exception to that rule. Due to fabric constraints, this one also has 3/4 length sleeves, which I prefer to long sleeves even though its hard to get other clothes on over them. 


Pattern Adjustments

I used the darted front pattern. The pattern comes with lines printed on it for shortening both above and below the bust. I shortened it in both places. I also did a slight slope shoulder adjustment, straightened the hem (the pattern has a shirttail hem), raised the bottom of the armhole & made the sleeve tighter and made the hips and the shoulders narrower. So many changes on a perfect pattern!
I cut out a size medium and used between 3/8 inch and 1 1/4 inch seam allowances depending on the fabric. Err on the side of selecting a smaller size than usual with this pattern. 
And don't sew the dart until after the shoulders are sewn and so you can see how much the knit drapes on the figure. I learned this from Shams. Thanks Shams!!

I started these shirts when it was bitterly cold here to fill a hole in my wardrobe. I have two more different long sleeve knit tops to go, but I'm done with this pattern for now. I will come back to it this summer though. 


Wednesday, December 4, 2013

FBA Shenanigans


After coming to the realization that I really don't like collared long sleeve shirts,  I decided to give up my quest for the perfect pattern for one. My mind is now free to wander. And wander it has!

What I really wanted was a simple well fitting woven pullover top that could be worn with or without a jacket or sweater.  I started with this pattern: McCalls 6564. I really liked that it has different sleeve options. 
I also wanted to explore and experiment with my FBA. I've had questions in my mind I hoped to answer about the FBA and whether the way I had learned and always done them was the best way and how much difference doing them differently could make.


1. I started with what I think of as the "textbook" way of doing the FBA. 


a. The original pattern
b. Start by drawing these 3 lines: a line parallel to the CF up from the hem to the BP, a line from the BP to notch in the sleeve, and from the BP through the center of dart.  
c. Slash the pattern open from the bottom edge to the BP continuing to, but not through, the sleeve notch, leaving a bit of tissue fro a hinge. Also cut from the middle of the dart legs to, but not through, the BP, again leaving a bit of tissue for a hinge.  Now slide the side front over and down. This will automatically increase the width between the dart legs making the dart deeper and also increase the length at the center front. True the hem at the center front. 
d. Now we get to the part I don't like about this method: if your BP differs from the pattern (and if you have a large bust your BP is generally lower as well) you now need to lower the BP and redraw the dart legs. (in red), but what happens is that it flattens the dart. You can see that the center of the dart is now almost horizontal. Not good, IMO.


2. The second version involved the same steps, but in a different order:

b. First, I move the BP and the whole dart into the right position
c. Then do the FBA. You can see that the center of the dart is diagonal now. Way more flattering! But still not perfect. The front of the blouse sticks out and  I certainly don't want people to think I'm going to be a mother in my 50s!


3a. The next version was a refinement of number 2


a. I added a princess dart under the bust, 
b. Using the principal of dart rotation, I closed the princess dart, thereby shifting the excess into the bust dart.
I now have a simple well fitting top. 


3b. Conclusion


What I learned from this exercise is this:

a. To first move the BP to the correct level
b. Then do the FBA. And to pivot the lower edge of the side front toward the CF ( this substitutes for extra step with the princess dart). 


The Final Pattern:

The original pattern is in black and my adjustments are in red.

I'm planning to get a lot of use out of this pattern this winter and next summer. I think its going to make a great blank canvas.